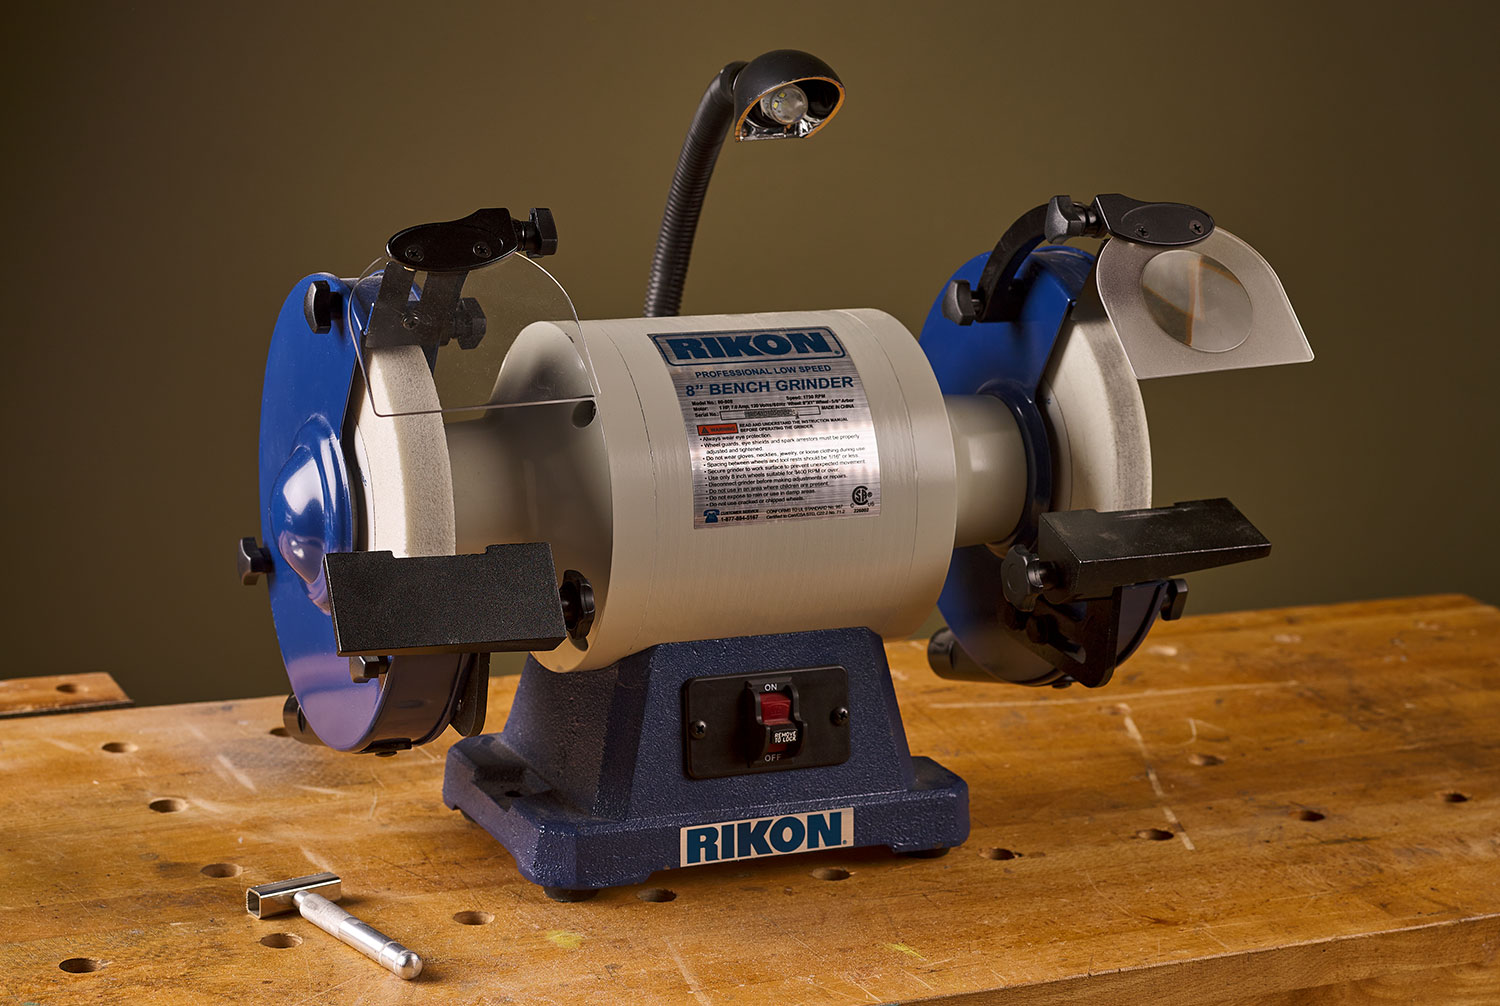
Rikon Low-Speed Grinder – Set-Up & Use
Once your grinder is assembled but before you put it to work, it’s important to check the wheels to ensure they’re balanced. A grinding wheel that is out of balance will have greater vibration and instability, and result in an uneven grind.
Checking Wheel Balance
First, rotate the wheels by hand and check them for wobble (Photo 1). Be sure the grinder is unplugged.
Focus on the gap between the side of the wheel and the wheel cover to reveal any oscillation.
If either wheel is unbalanced, do not use the grinder before correcting it by following these steps:
- Remove the wheel cover.
- Mark a line across the wheel and outer wheel flange (Photo 1).
- Loosen the arbour hex nut, rotate the outer wheel flange and retighten the hex nut (Photo 2).
- Spin the wheel by hand to check on the wobbliness.
- Repeat steps 3 and 4 until the wheel spins true (Photo 3).
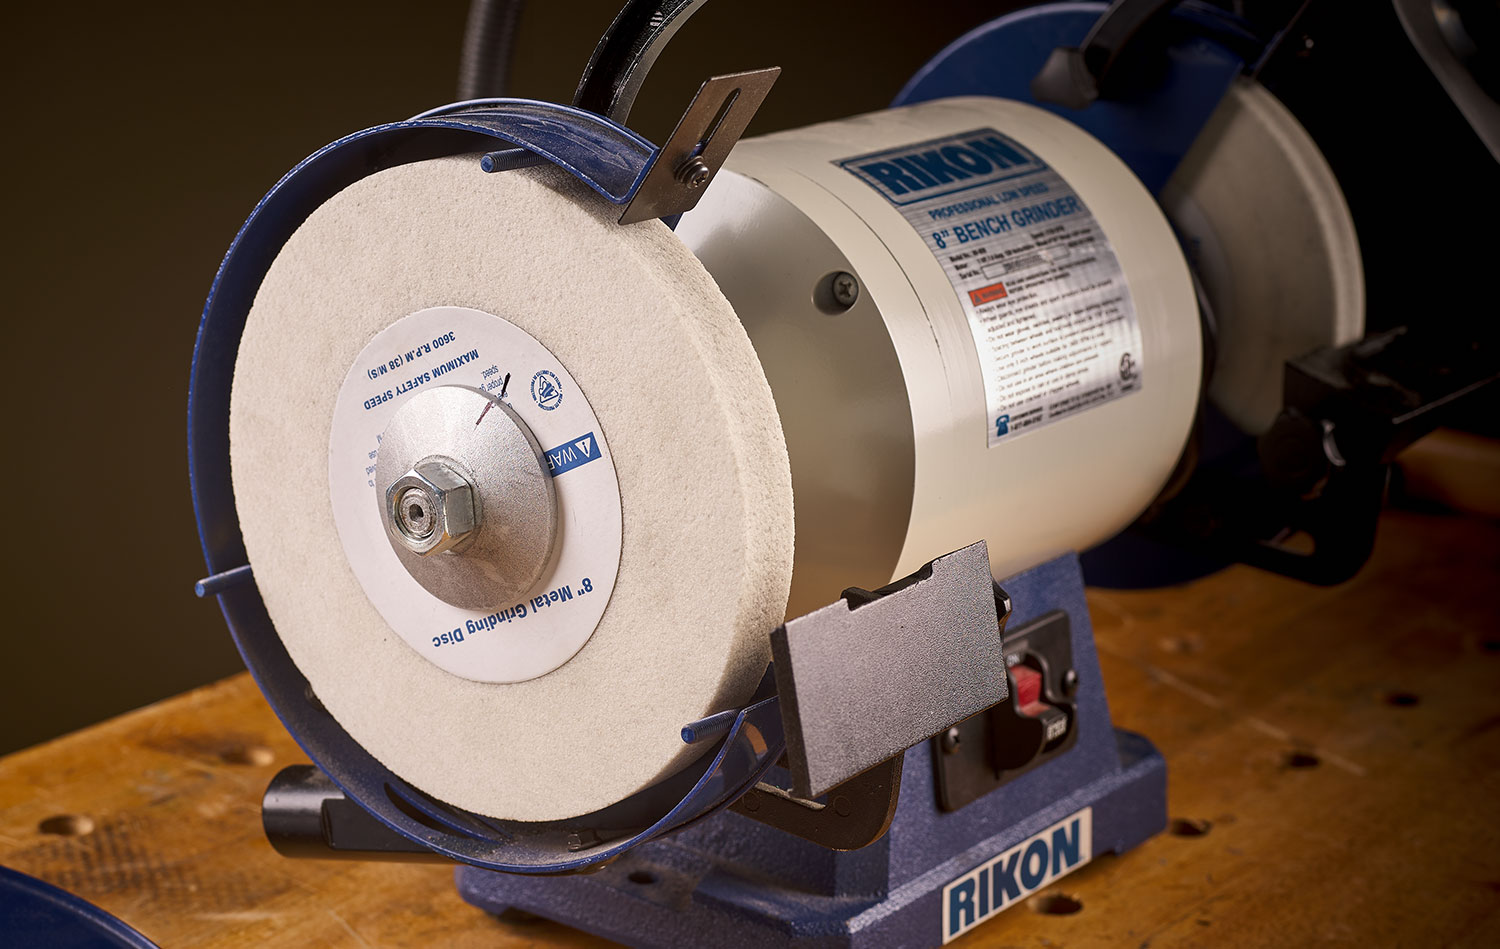
Photo 1 – The line records the starting position.
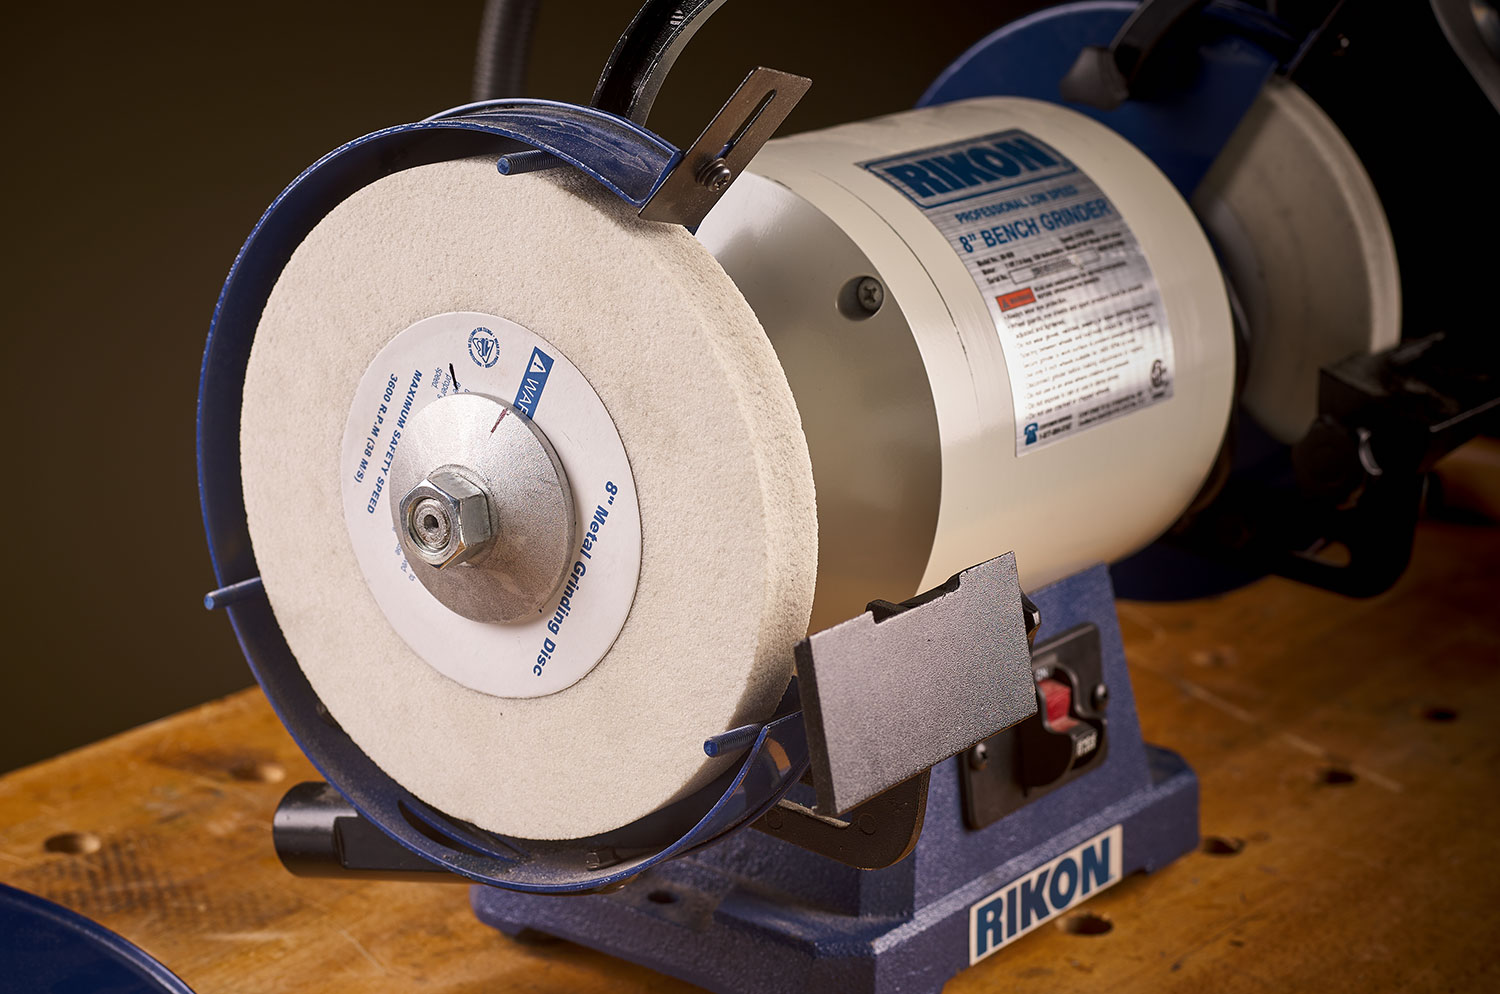
Photo 2 – Rotate the flange to a different position, and test the wheel for trueness.
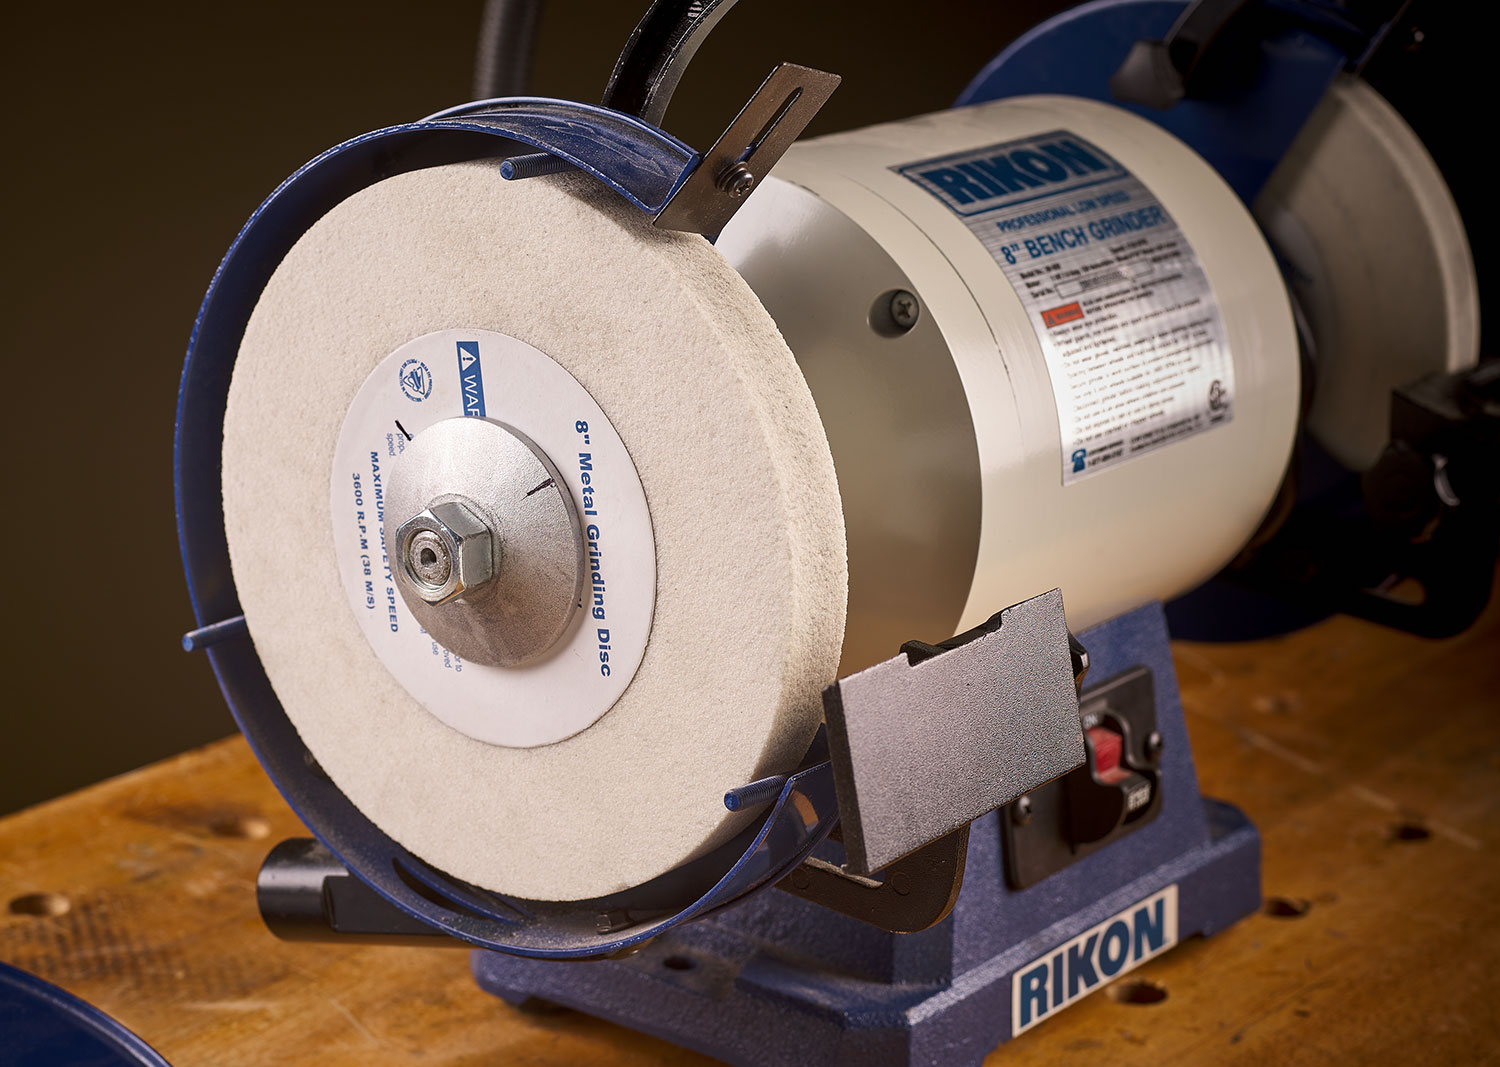
Photo 3 – Reposition the flange and retest, if necessary, until the wobble is gone.
Although you won’t need to dress the wheels to begin using your grinder, it’s an essential and regular part of maintenance. With this in mind, that’s what we’ll cover in the next tutorial.
Discover More About the Rikon Low-Speed Grinder

This image has not been loaded. To print the images, close the print view and scroll to the bottom of the article. Once all of the images have loaded, select the print option again.
This image has not been loaded. To print the images, close the print view and scroll to the bottom of the article. Once all of the images have loaded, select the print option again.
Safely Using
This image has not been loaded. To print the images, close the print view and scroll to the bottom of the article. Once all of the images have loaded, select the print option again.
Professional Safety Glasses
$19.50
This image has not been loaded. To print the images, close the print view and scroll to the bottom of the article. Once all of the images have loaded, select the print option again.
Veritas Bevel Gauge
$10.90
This image has not been loaded. To print the images, close the print view and scroll to the bottom of the article. Once all of the images have loaded, select the print option again.
Veritas Grinder Tool Rest
$58.50
This image has not been loaded. To print the images, close the print view and scroll to the bottom of the article. Once all of the images have loaded, select the print option again.
Veritas Grinding Jig
$27.50
This image has not been loaded. To print the images, close the print view and scroll to the bottom of the article. Once all of the images have loaded, select the print option again.
Veritas Basic Grinding Set
$76.50
This image has not been loaded. To print the images, close the print view and scroll to the bottom of the article. Once all of the images have loaded, select the print option again.
Wolverine Basic Sharpening Jig
$92.00
This image has not been loaded. To print the images, close the print view and scroll to the bottom of the article. Once all of the images have loaded, select the print option again.
10" × 1" Razor Sharp Kit
$105.00
This image has not been loaded. To print the images, close the print view and scroll to the bottom of the article. Once all of the images have loaded, select the print option again.
Tormek Bench Grinder Hardware
$103.00